Friction Lab
See the Lab Manual p. 71. However, instructions here supersede those in the manual.
Items from Lab Kit Needed:
Wooden Board
Pulley Clamp
Plastic Hockey Puck
Ruler
Thread
200 g Mass
Tape
Modifications to Lab Manual Instructions
Method 1
no modification needed
Method 2
Note that we do not have a hook embedded in the take-home hockey pucks. You will have to tie the thread around the puck.
In order to support the tension on it (how much will this tension be?), you may have to double the thread provided by making a large loop. (Why would this help?)
The angle used does not need to be exactly 60 degrees. Use any steep angle that is convenient based on the objects you have available. However, you will need to determine what angle you used. This can be done with the ruler provided (How?).
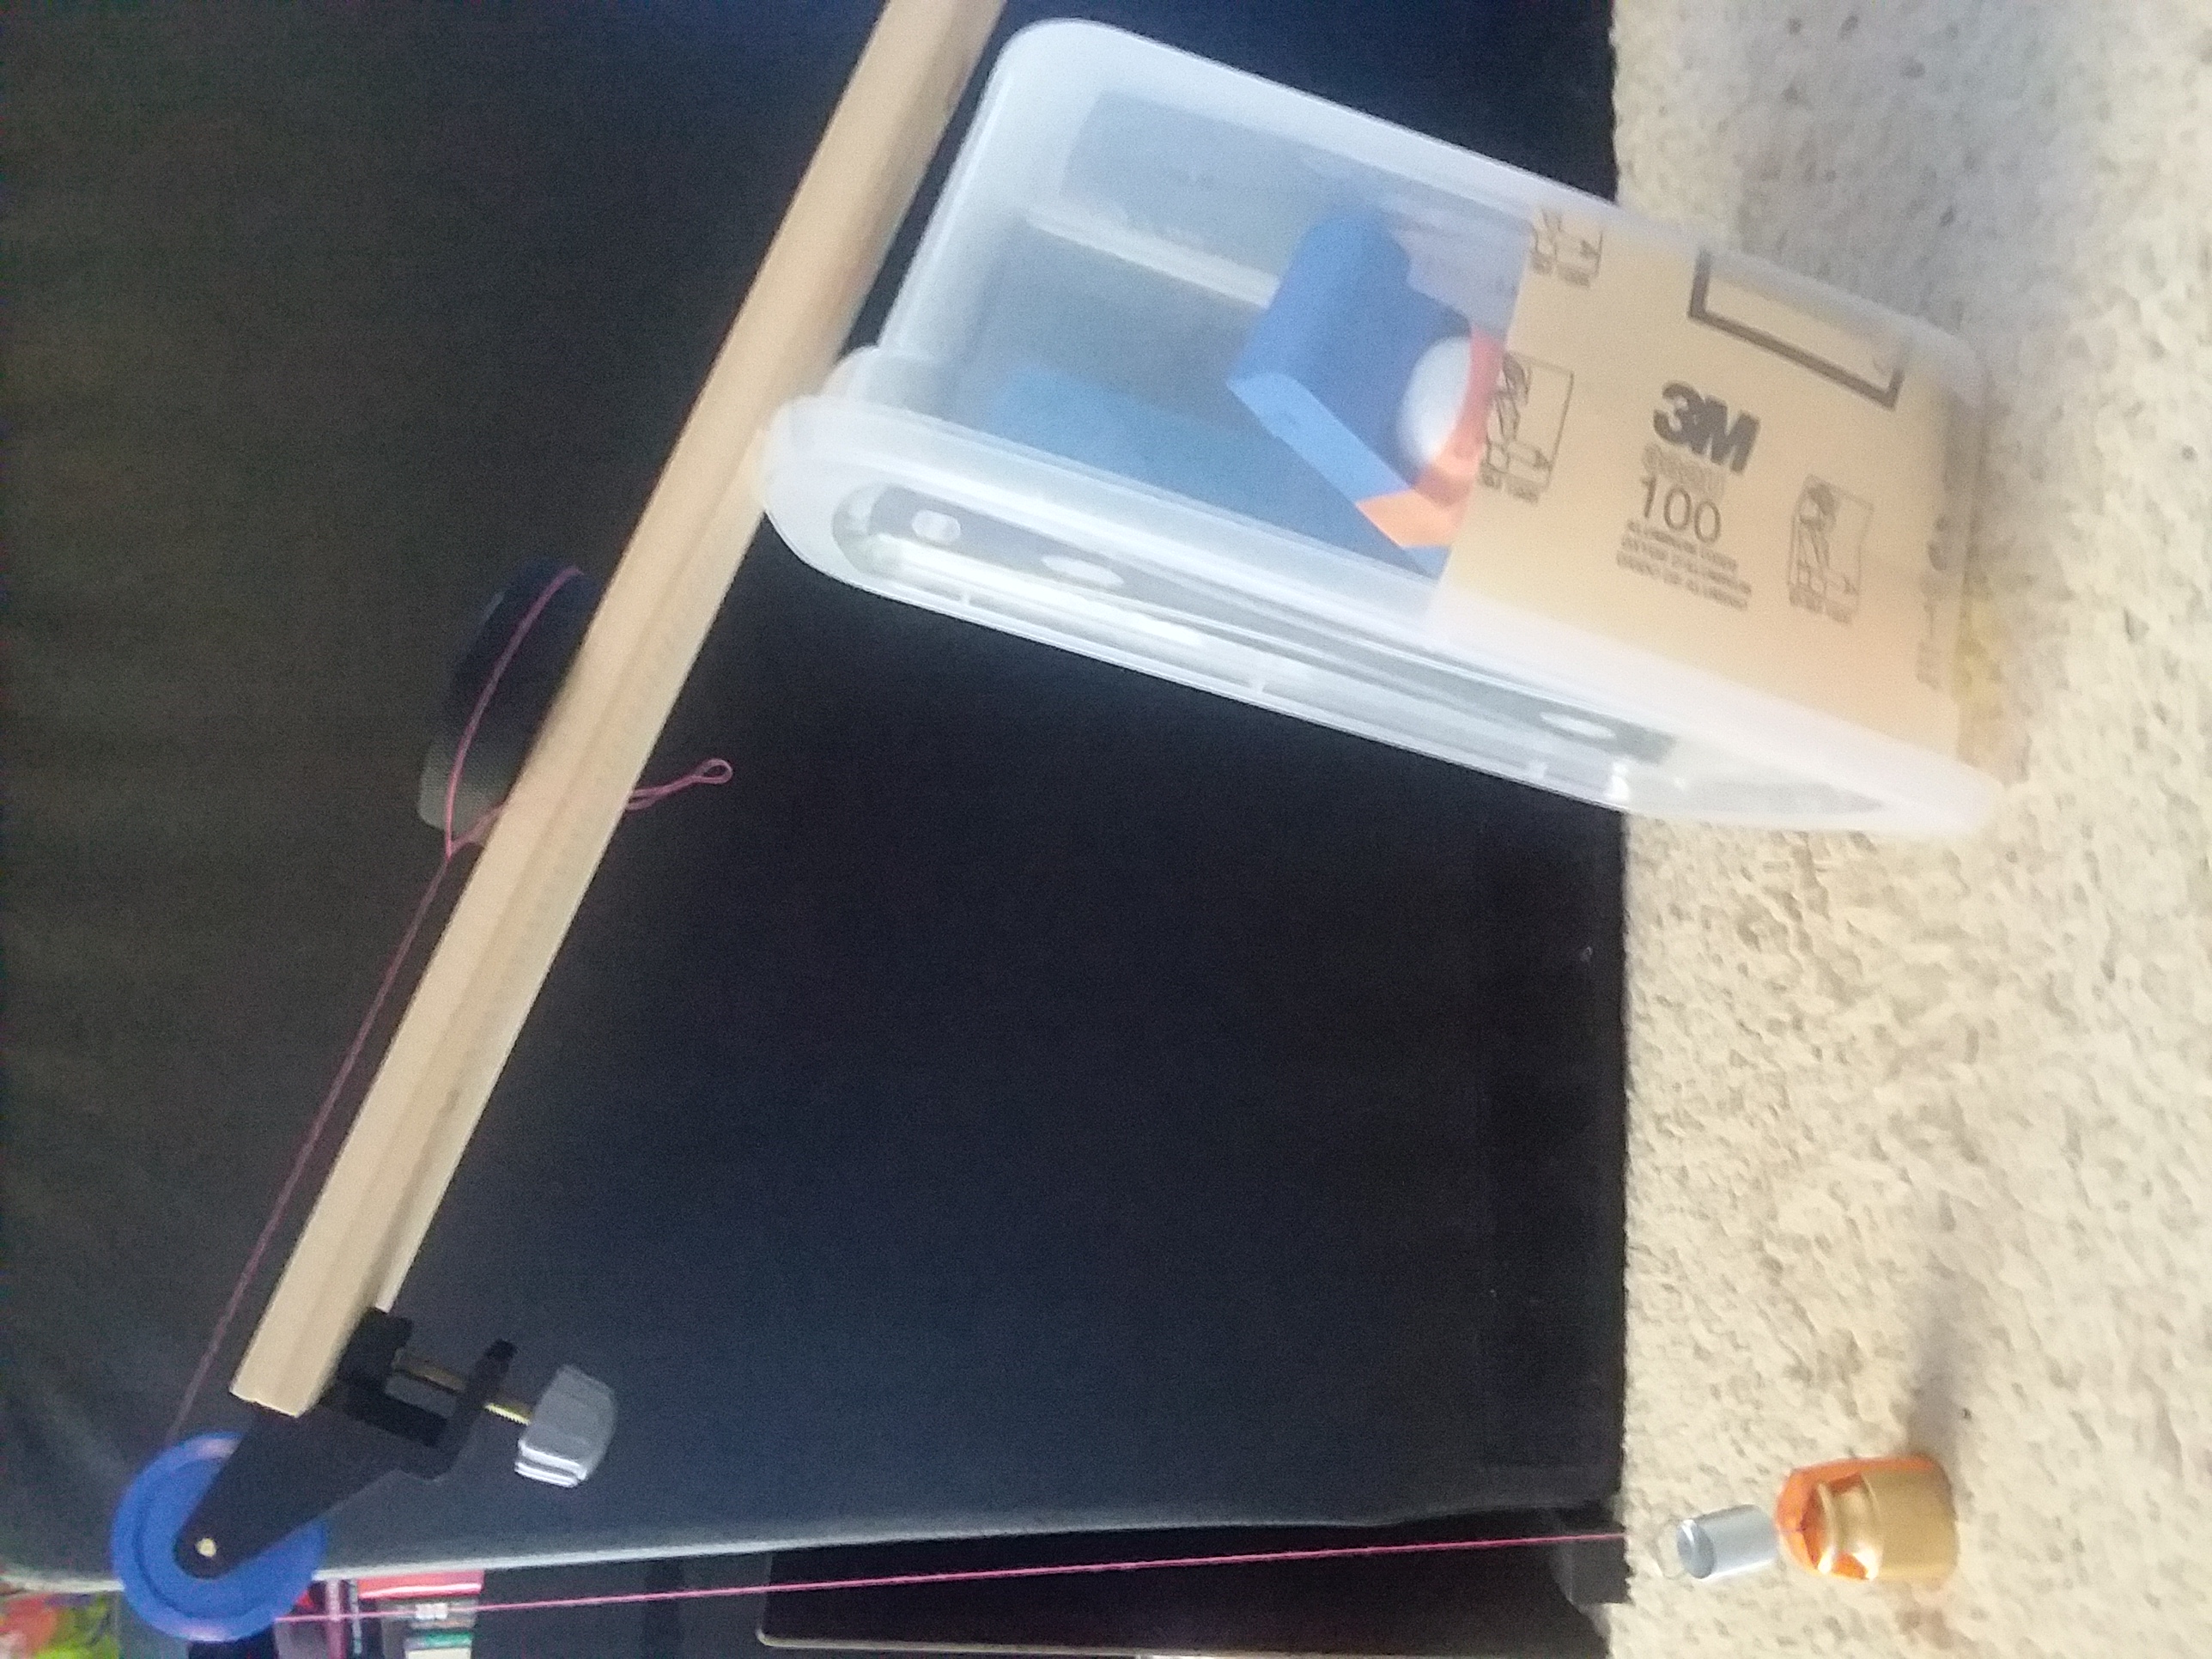
The close-up below shows how the thread can be kept straight as mentioned in the lab manual. The pulley cannot be adjusted so you will have to adjust how the thread is tied around the puck.

Method 3
Instead of keeping the board flat and using a pulley, it is probably easier to use a setup more like Method 1. However, you will have to be sure to keep the angle as stable as possible while filming.
The tracking application will probably not work on mobile devices, so you will probably need to upload your video (or use a webcam) and use a laptop for analysis.
Online Version of Motion Tracking software